- On the Xero dashboard, head to your company profile(Top Left), then select "Settings"
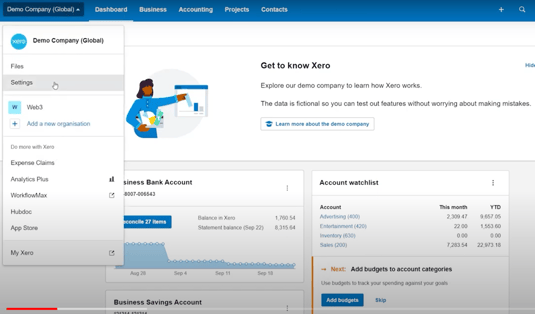
- On the settings window, click on "Payment Services" in the right column.

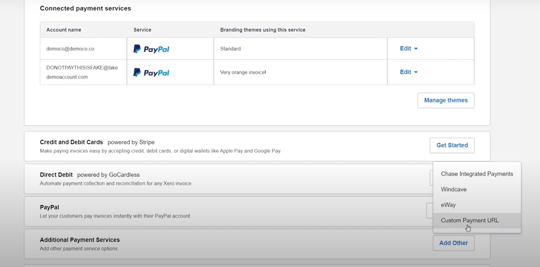
- Scroll down to Additional Payment Services, then click "Add Other," then choose Custom Payment URL.
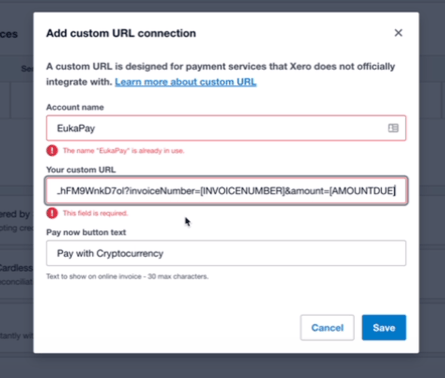
- On the Custom Payment URL Form, enter the following information:
Account name: "EukaPay".
Pay now button text: "Pay with Crypto".
Your custom URL: see next steps(5 - 9)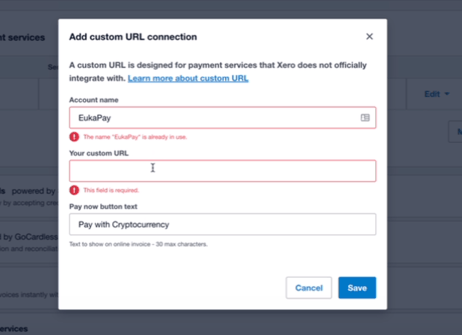
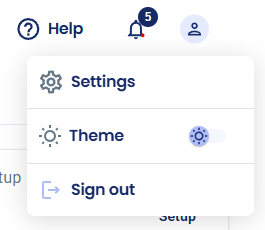
- Log in to your EukaPay Business Account. Then select Settings from the top right on your screen.
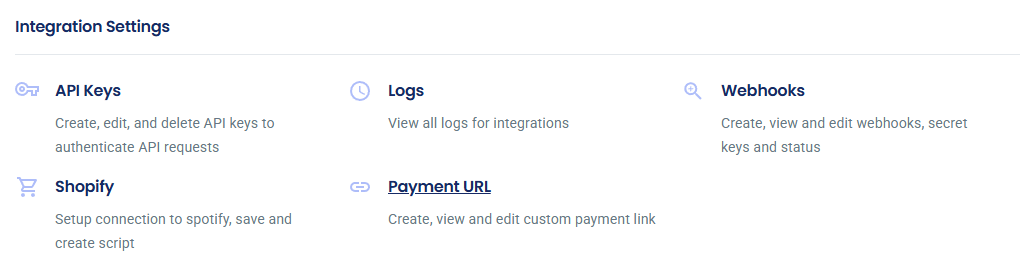
- On the Settings screen, navigate to the Integrations Settings section tab and select "Payment URL".
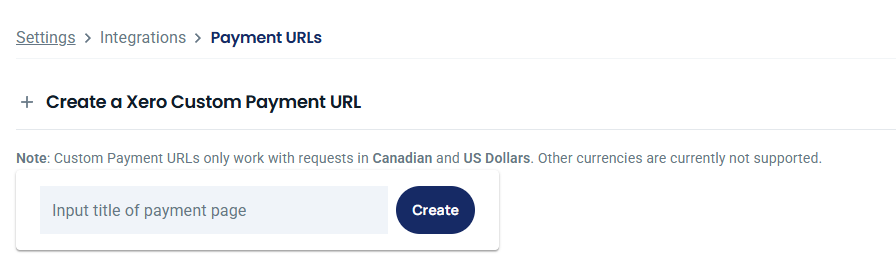
- Under "Create a Xero Custom Payment URL", enter an appropriate title for your payment URL. Then click "Create".
- Scroll down to the Custom Payment URL section, then copy the link provided.

- Paste the Payment link into the Custom Payment URL Form in Xero, then click "Save".
- Now add your Pay with Cryptocurrency button, using the following substeps:
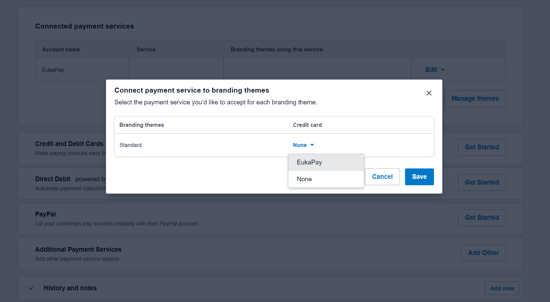
- Under the Connected payment services section, click on "Manage themes"
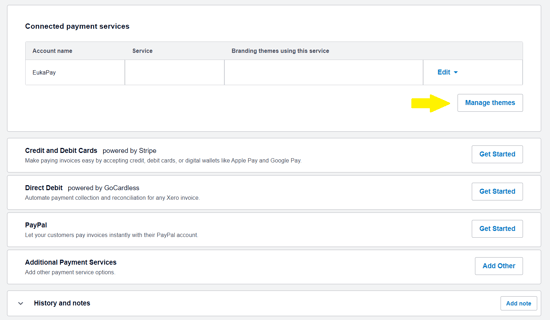
- In the window that opens, select "Eukapay" from the dropdown in the Credit Card column and click "Save" when you are done
- Under the Connected payment services section, click on "Manage themes"
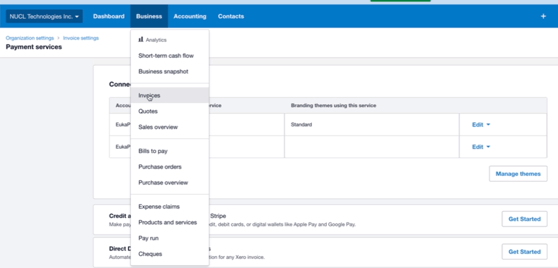
- Next, Head to the Business tab(top left of your screen). Then select Invoices.
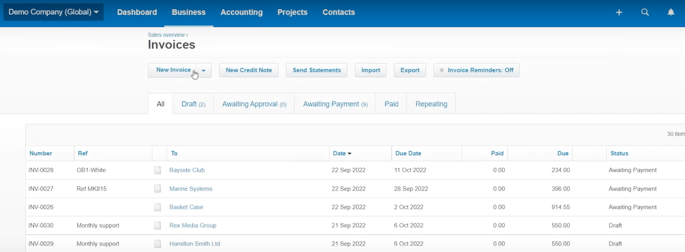
- In the Invoices window, select New Invoice
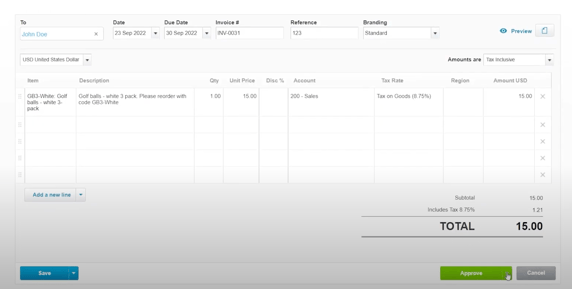
- Enter details for your invoice, then click Approve.
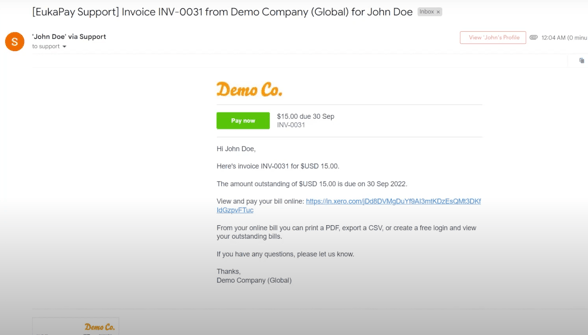
- Next click Email, then Send to deliver the invoice to your client's email.

- In their email, client will click on Pay Now button.
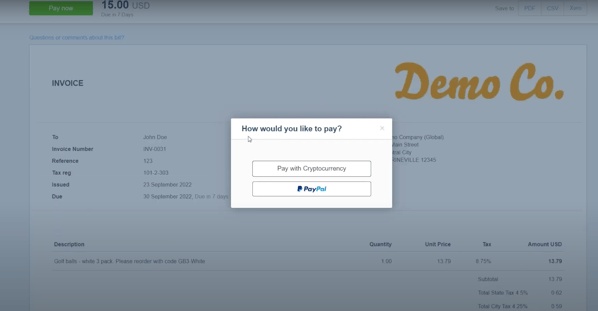
- On the Xero payment window, the client can click the Pay With Cryptocurrency button to pay using digital currency.
English